KiCAD - Adding a new component
Sometimes you want to add a custom component to your design, either because its not available as default on KiCAD or because its of your own design and you want to simulate/print it. In those cases libraries come in handy to work with.
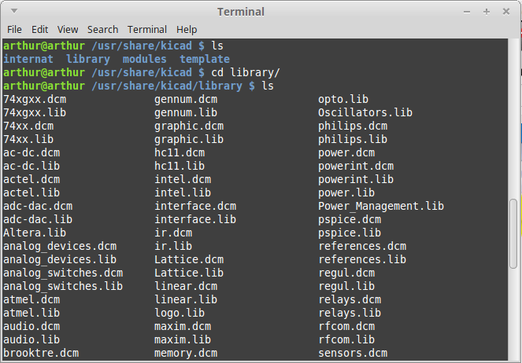
On this section I'm going to show how to add a new component. Library components are stored on Linux in /usr/share/kicad/library. Nonetheless its better not to store the components there as they'll be deleted on update given that the folder is managed by KiCAD itself.
On this section I'm going to show how to add a new component. Library components are stored on Linux in /usr/share/kicad/library. Nonetheless its better not to store the components there as they'll be deleted on update given that the folder is managed by KiCAD itself.
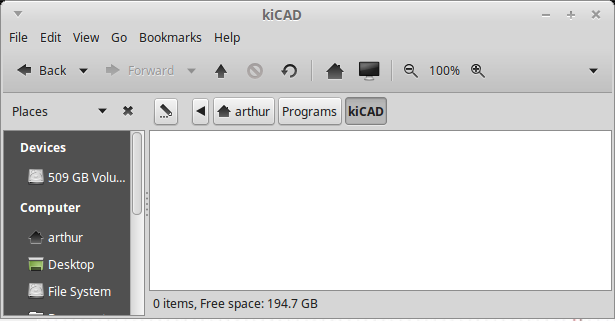
To begin lets create a folder you aren't planning to modify to store your components. In this case I made one in my Programs folder called kiCAD as shown on Figure 2.
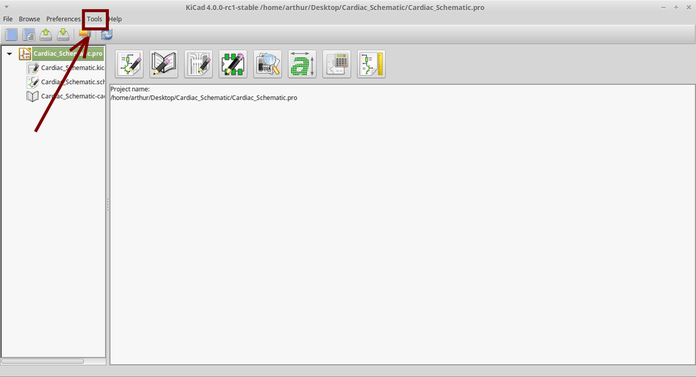
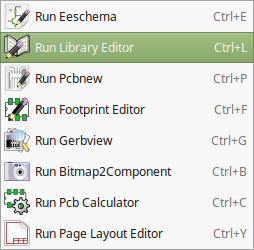
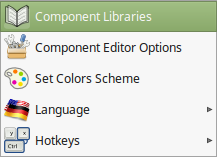
Now its time to add the folder path to kiCAD. Initialize the application and select Tools->Run Library Editor.
|
|
The Parts Library Editor will open. This allows to create new components. For now select Preferences->Component Libraries.

|
|
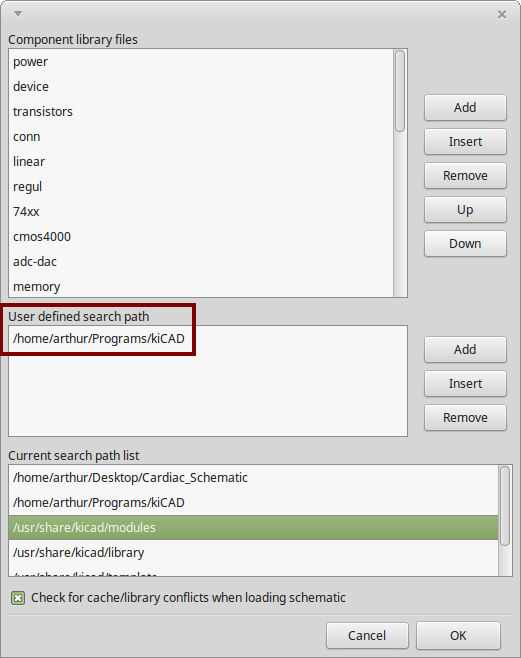
This will initialize and display the libraries currently active on kiCAD. You must add your new folder in the application's search path. To do so you must click the Add button on the User defined search path section.
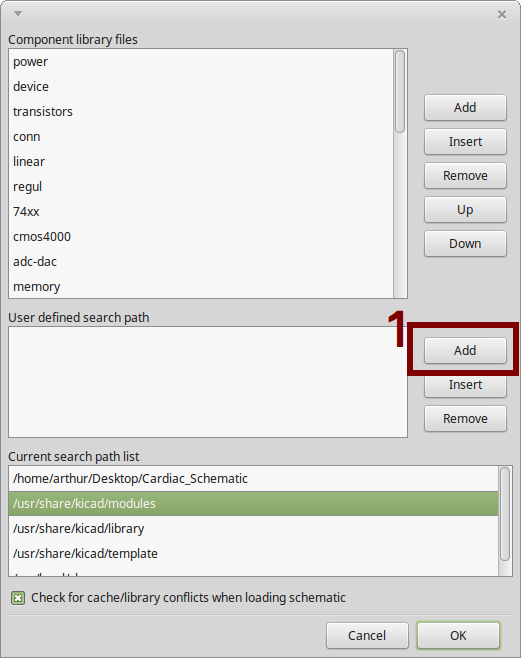
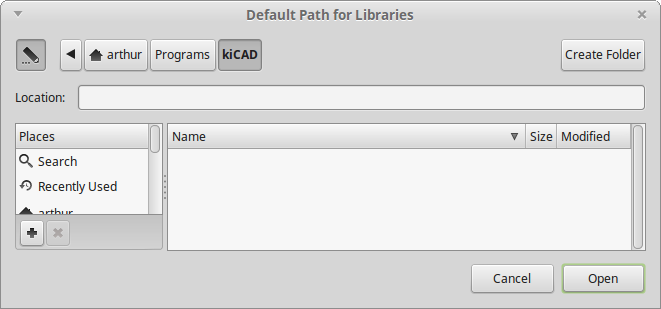
This will display the directories on your machine. Now you must select the folder where you'll be storing your kiCAD files, in my case kiCAD inside the Programs folder.
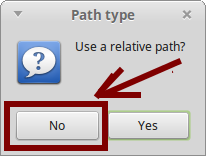
Once you click Open the application will ask if you want to store a relative path. In our case we'll select No. If successful, the application's path will appear on the libraries relative display paths.
|
|
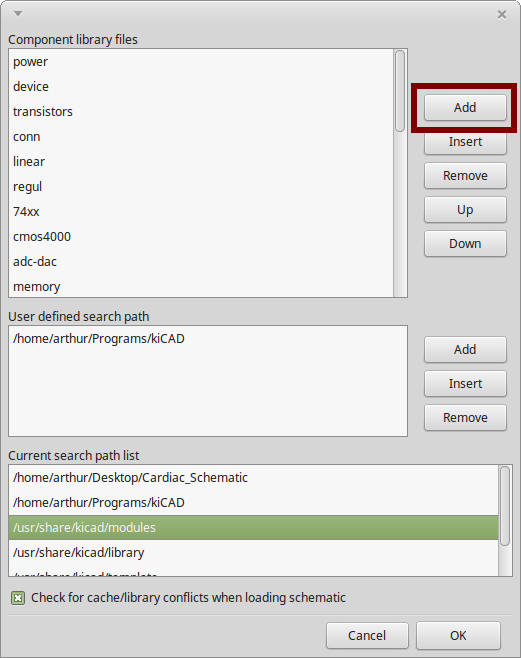
Now all that's left is to add the component to our application. For that select the Add option on the Component library files section as shown.
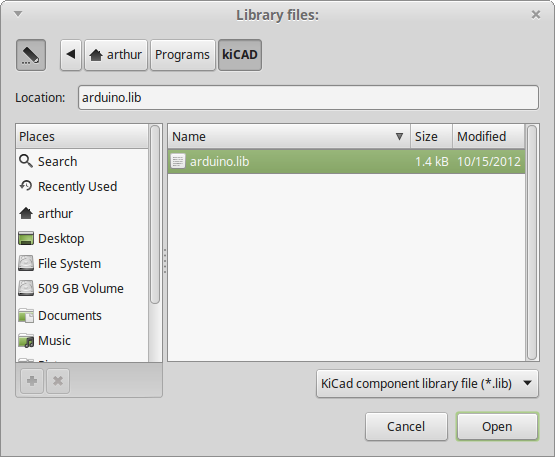
The application will ask for the file to add. In this case we go to the Programs/kiCAD folder and select a component. For that we downloaded a free arduino nano library file which we select and press the Open option. The file will have the .lib extension.
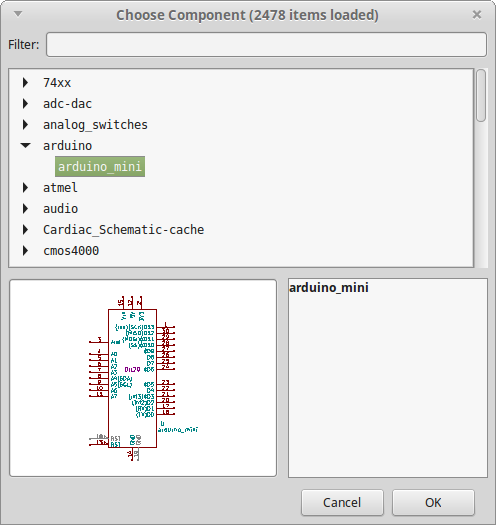
Now after creating a design we'll be able to see our library file on the Add Component section when making the schematic.
And that's it!
And that's it!
Where to download components
You can find hundred of components on this page, it has become really useful:
http://www.kicadlib.org/
Also here's the component I used on this tutorial, also taken from the page above.
http://www.kicadlib.org/
Also here's the component I used on this tutorial, also taken from the page above.
|
| ||||
