QT for Android.
Given that Android is the most popular platform as of today (2014), it's only natural that one needs to learn the tricks of programming for this popular mobile platform.
Installation.
Install the Android SDK and NDK.
HelloWorld.
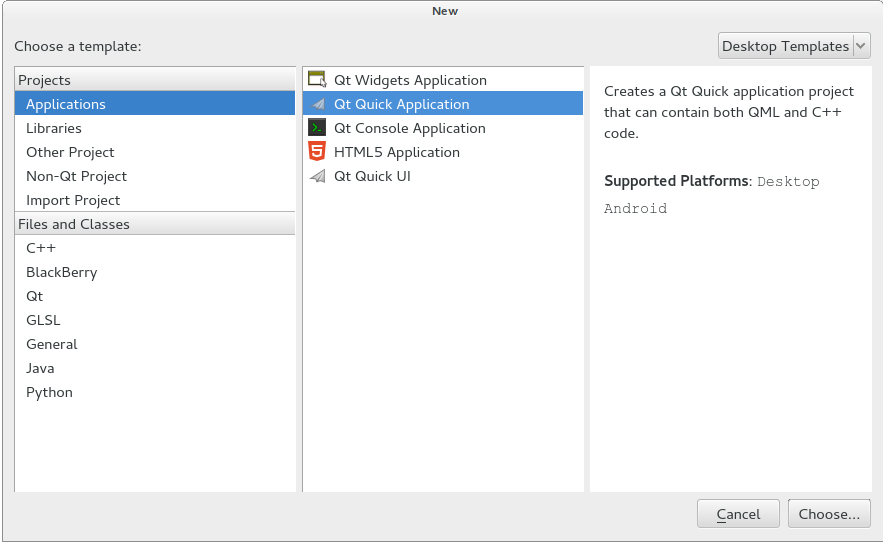
In order to test the project we'll execute the Hello World example that comes with every standard QT project. In order to do so one must first create a new project clicking File -> New Project or alternatively CTRL + N.
It will open the New project window. On it you must select Applications and choose Qt Quick Application which is compatible with Mobile and Desktop applications. Click on Choose.
It will open the New project window. On it you must select Applications and choose Qt Quick Application which is compatible with Mobile and Desktop applications. Click on Choose.
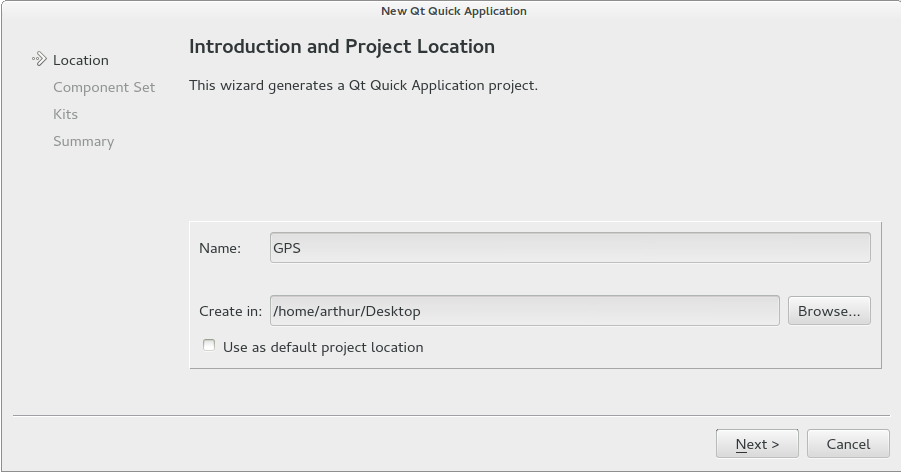
Afterwards it will ask for a project name and a project location. You can give it any name you want. In this project we gave it the name GPS and choose to locate it on the Desktop. Click Next.
NOTE: As of the current Qt version (QT 5.3) the directory and project name must not contain spaces or symbols as the program Builds with no errors but fails to execute the application on deployment. Learned it the hard way...the error is ERROR_INIT 1 IGNORE as a hint in case that error code appears while Deploying.
NOTE: As of the current Qt version (QT 5.3) the directory and project name must not contain spaces or symbols as the program Builds with no errors but fails to execute the application on deployment. Learned it the hard way...the error is ERROR_INIT 1 IGNORE as a hint in case that error code appears while Deploying.
Afterwards the application will ask what tools to use. In our case we must select the Qt Quick Controls 1.1 version which allows to also grab the Qt Quick 2.2 one. As such it's more complete. Click Next.

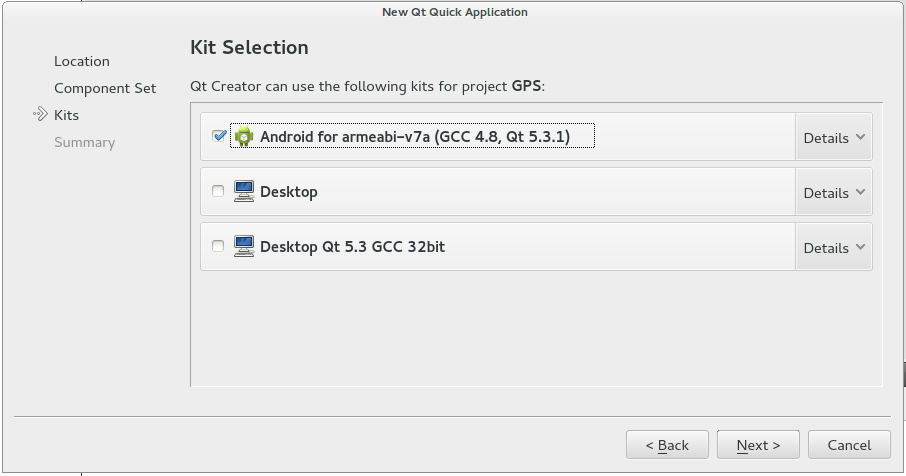
Then the application will ask for what platforms will our project be deployed. For now we'll stick with the Android platform selecting it and clicking Next.
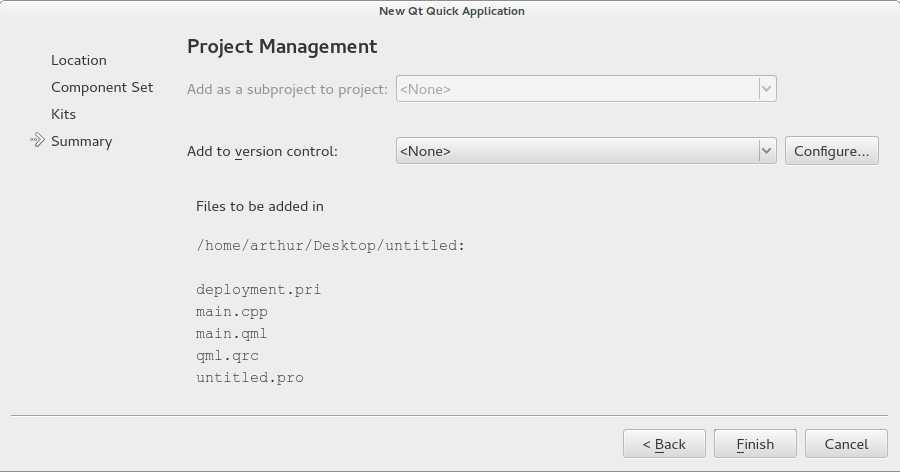
The following window allows to automatically upload the Qt project to a web repository which can be very useful when working in groups or for a community project. As of yet we'll leave it blank and select Finish.
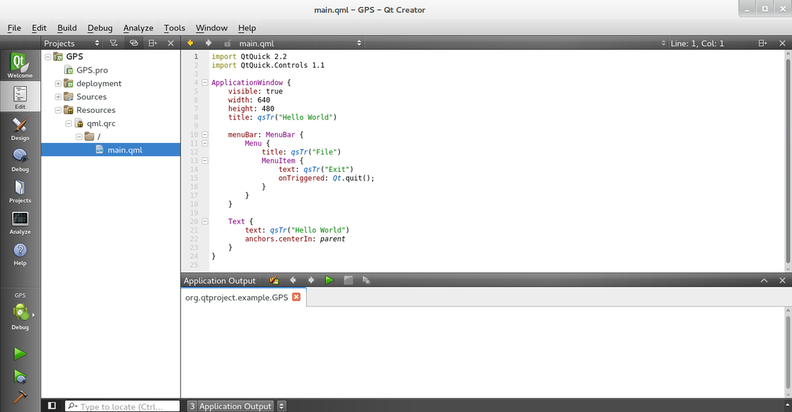
Doing so will generate the interface where we can code.
The Bibliography.
[1] http://bytedebugger.wordpress.com/2014/05/11/tutorial-how-to-use-qt-creator-for-mobile-development-android/
[2] http://qt-project.org/doc/qtcreator-3.1/creator-mobile-app-tutorial.html
[2] http://qt-project.org/doc/qtcreator-3.1/creator-mobile-app-tutorial.html
