Loading VHDL to FPGA - Part II
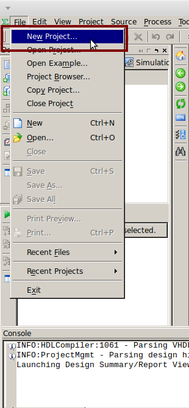
Now we create a new project to generate the .bit code we'll be loading to the FPGA. To do that we select the New Project option on the Xilinx IDE.
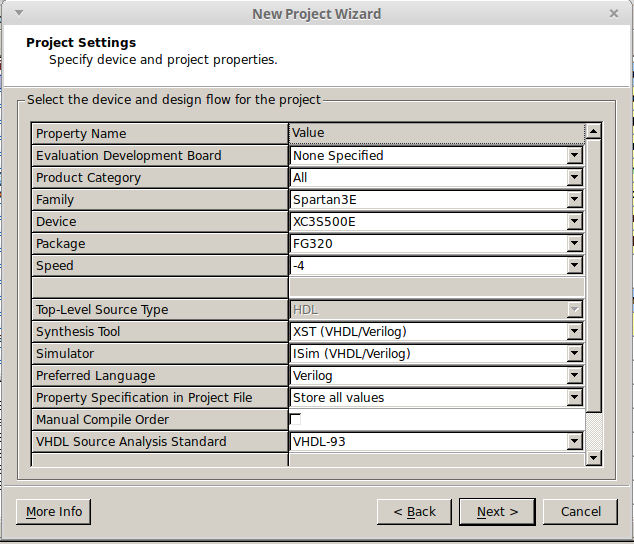
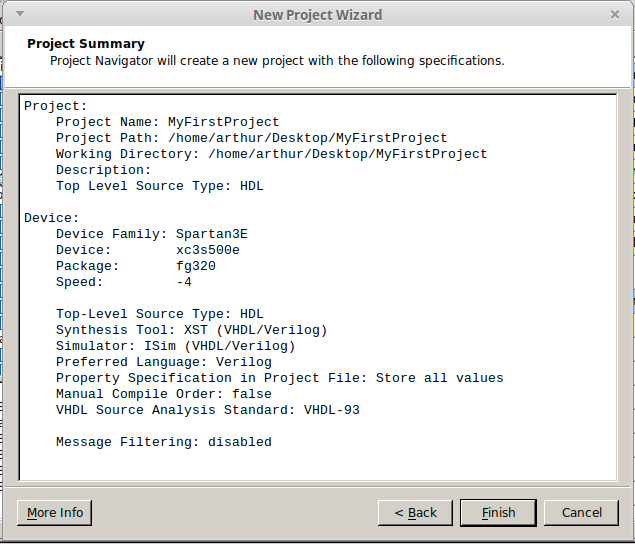
We must give our project a name. In this case I'm going to call it MyFirstProject and place it somewhere. I'll choose Desktop for ease of access.

Next window asks about FPGA configuration settings. It's important you choose the right board you're working with. In our case it's a Spartan 3-E board with a XC3S500E device. There're several types so you need to check both the board and the controller it has inside. Once you're finished with that, it's time to load the application. Just select FInish in the next window.
|
|
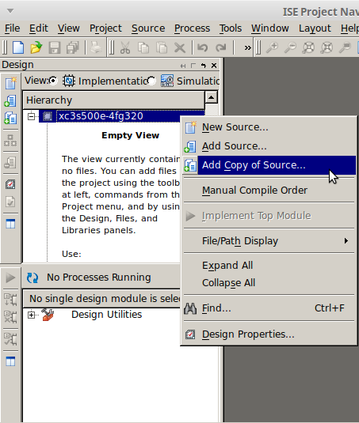
Adding from source.
If you already have some VHDL source code that you want to use, you can use the following instructions. Otherwise go to Creating New File option below. To work from source you must select your FPGA design in the left panel as shown in the figure and right click to display a series of options. You must select the Add Copy Of Source option.
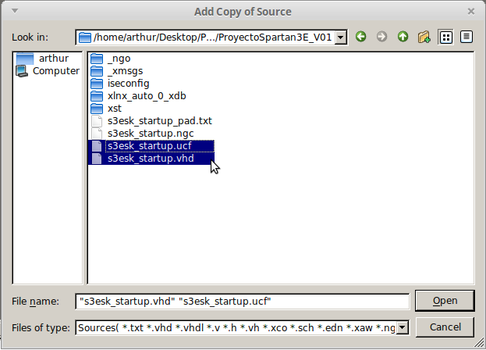
Now we must navigate through our system directory to the folder with the source code and select both the .ucf and .vhd files. On the next window we check and if everything's okay we click on OK.
|

|
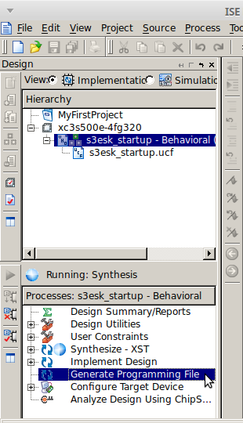
Once it's finished you should be able to see both the .ucf and .vhd project on the left panel of the main window. By double clicking the .vhd or the .ucf you can see their source code as shown in the figure.

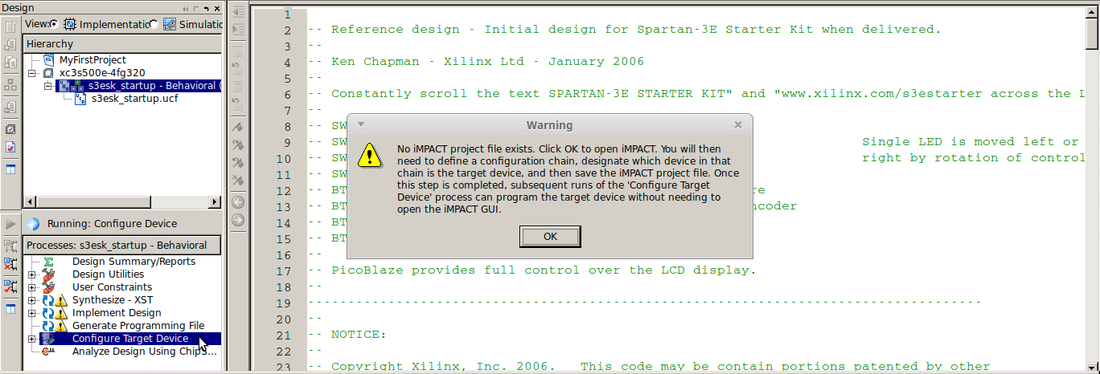
Next comes the compilation phase to generate the .bit. This is relatively easy as you only need to double click the Generate Programming File option in the lower left menu as shown. This will automatically start compiling the previous steps until it finishes or there's an error.
|
|
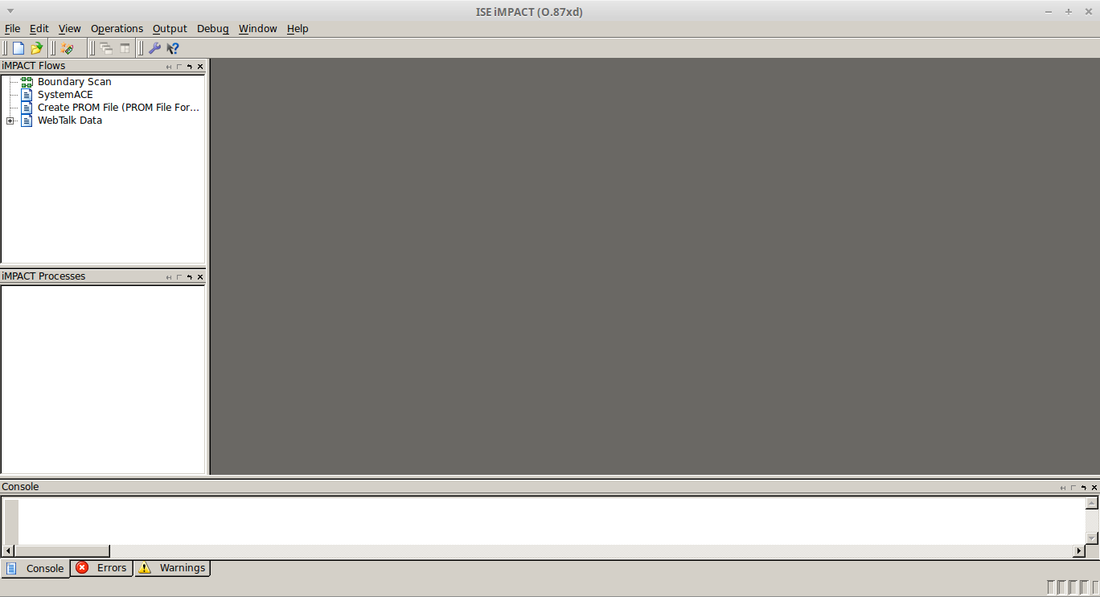
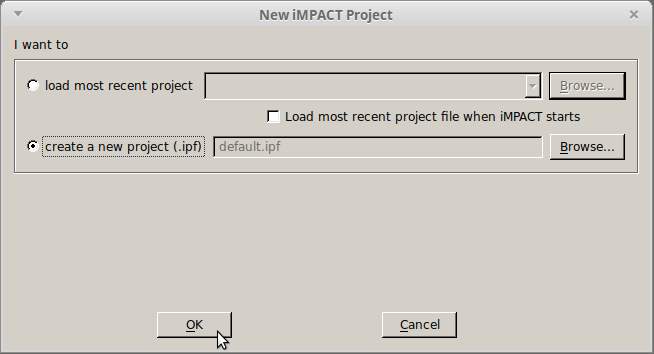
This will open the iMPACT loader tool. On it, we must generate a new project by selecting File -> New Project.
We must select the Create a new project option.
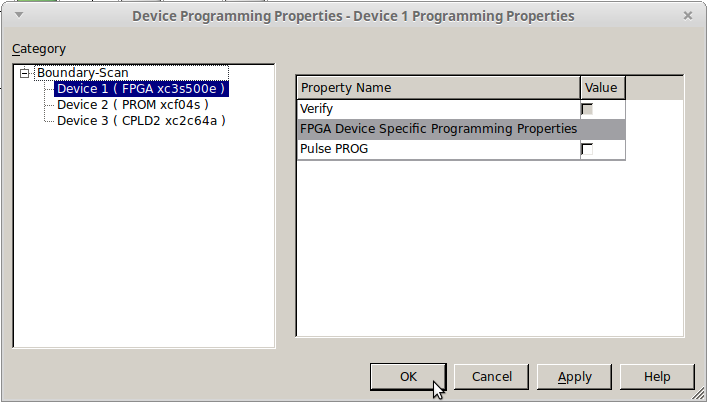
On the next window we tell it to automatically detect our FPGA.

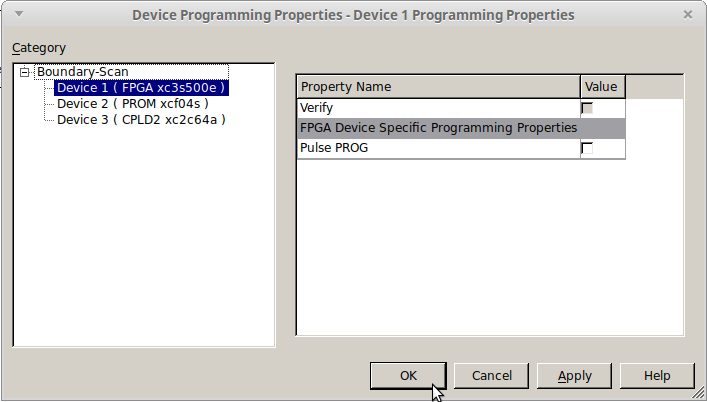
On the device programming properties we leave it as it is and click OK.
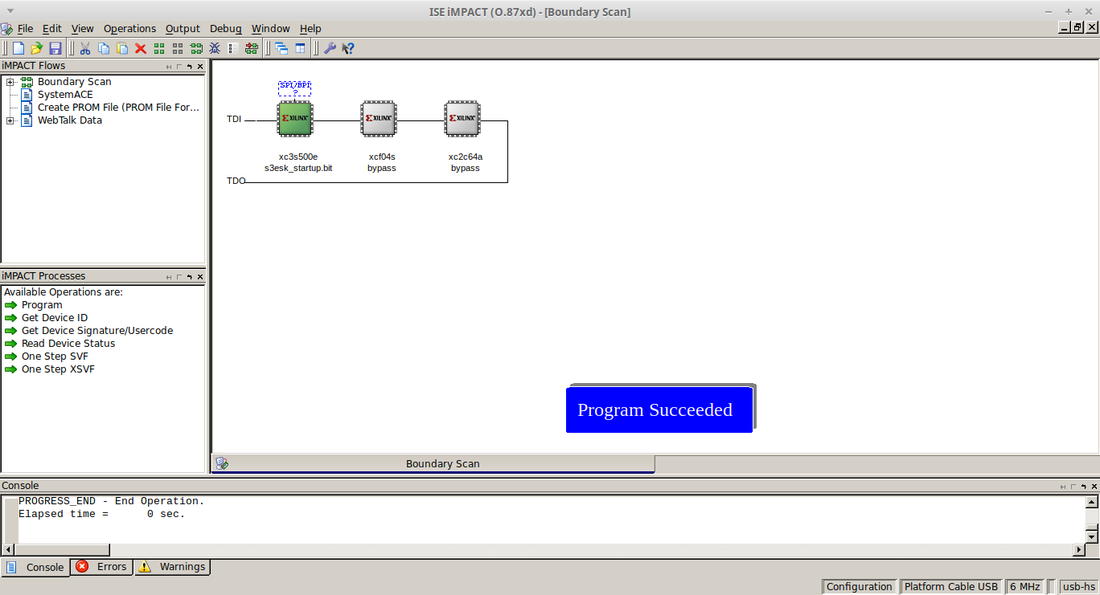
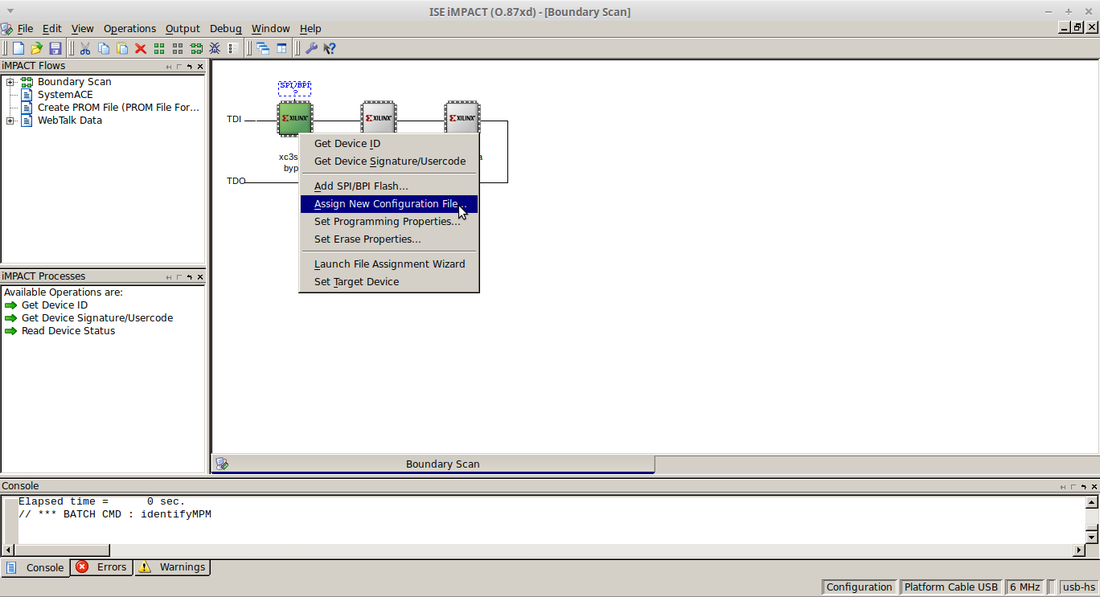
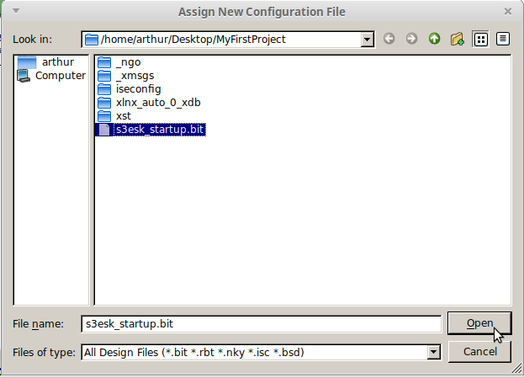
If everything worked well up to this point then you should have the following menu displaying several available devices. To load the bit code we must right click on the first device that represents our board and select the Assign New Configuration File option. This will let us load the .bit file that will go inside our FPGA.
.bit files contain our synthesized code which is our digital circuit converted into an array of digital gates inside our FPGA.
.bit files contain our synthesized code which is our digital circuit converted into an array of digital gates inside our FPGA.
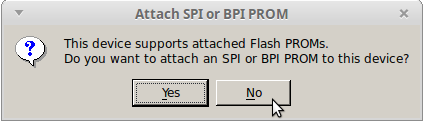
In the next window you must select the .bit file that you'll use for your project and select NO on the next window that appears.
|
|
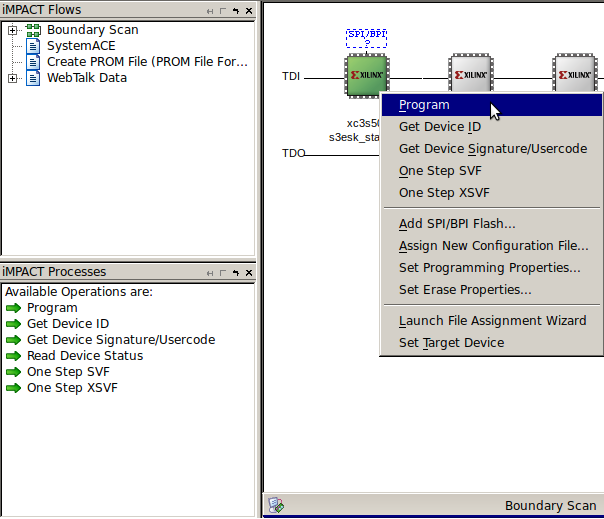
Now we must select the Program option on the main window to load the application to our FPGA. The next window will ask if we're sure of the operation, we leave it as default and press OK.
|
|
If everything went alright the FPGA should be working now and the application will show the Program Succeeded message. Congratulations! You have successfully loaded the application to the FPGA.